How do you install a smart Screen Monitor on your Not so smart Car?
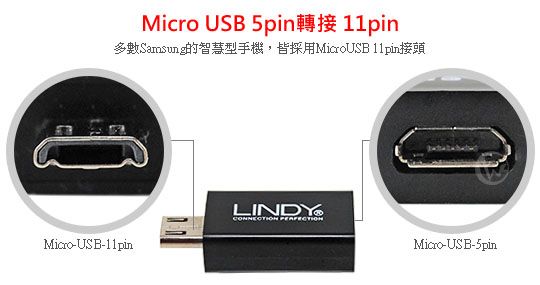


The newer phones comes with an USB C port while the rest comes with micro usb 11 pin and the little older phones comes with micro usb 5 pin.
Mine is the one with 5 pin Micro USB.
Hence i have to convert 5 pins to 11pins using this adaptor.
Hook the small adaptor to the USB port which will give you 11pins of a HDMI. Now you will need to get this connect to a monitor.
Now i got this monitor as it comes with 2 input video and a free reverse camera with night vision. I also bought an extra camera for the front camera.

Now the problem with this is it accepts only VGA inputs (using RCA Video cable)
The connectors i have are giving a digital HDMI. So now i have to convert HDMI to RCA. Hence the below adaptor.

These are the only things you would require to achieve this little DIY project.
2: How can i get the audio from my phone to play it on the car's audio system?
Now to achieve this many of the audio systems that comes with the vehicles would have an USB in / Aux In ports. I am just gonna use my AUX in from the above HDMI to RCA converter. So i will still have the stereo effect which is still pretty good.
3: How do i connect all of them together?
So i took the trouble of drawing an image of the connections.
 CL - Cigarette Lighter Terminals
RL - Reverse Light Terminals
SW - Switch - On/ Off
V1 - Video input 1, V2 - Video Input 2.
Now testing the parts i bought.


Pictures of the Corolla Altis before the mod.


 Connect the rear camera power to this Reverse park light below.


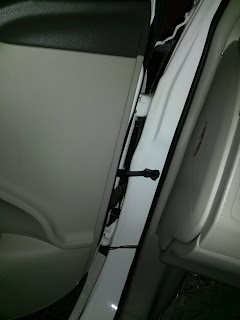
 Remove the seat scuff plates and the beading to run the wires along the rear passenger door below.
 A look from behind.
 Run the wires along the factory wires up till the front.

Now, Lets install the front camera.


 I placed the camera just below the Toyota logo. Noticable? I hope not.


Now that we are done with the connections of the Front and the Rear Cam.
Let me start fixing the rest of the devices inside the car.
Remove the side silver panels from the Automatic gear Box. Start by pulling them off slowly from below and work your way up.


Now all the right side panels are off. Continue with the left side from the gear box till the top.


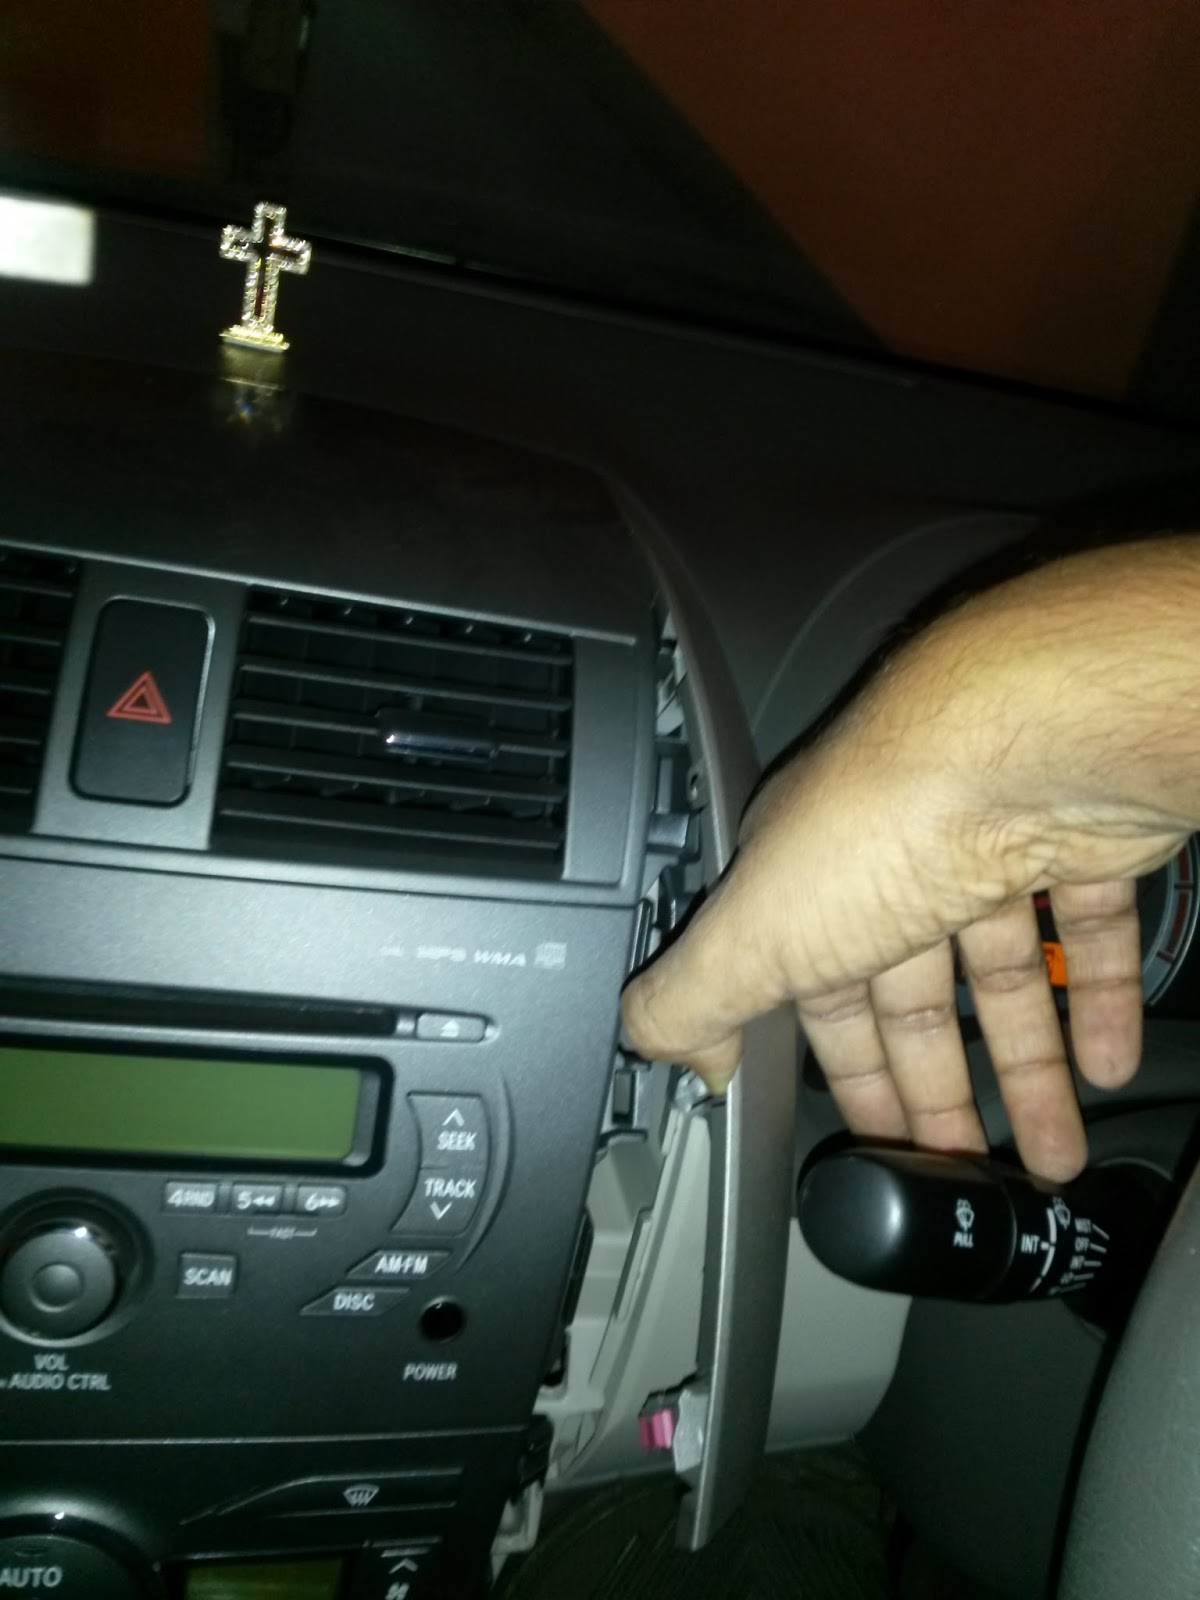
Unscrew all the visible bolts you find holding the stereo CD system. and pull it out carefully. Make sure you unplug all the wires holding it too before pulling it out.


Now remove the panel around the automatic gear box It holds the AC controller in place.
Unscrew the two bolts holding the AC controller and unplug the connectors from behind and slowly remove the AC Controller panel.


Now we have taken out all the parts needed to complete our project.
This is the AC Vent air flow part. I would like to fix the monitor over it.
I ll drill a hole right in the center above the Hazard button so that it can hold the monitor bolt within.


Make use of Fuses wherever possible so that any short circuit will not harm any device.
Disconnect the Positive terminal of the battery after switching the car to Neutral.
Assemble all the devices as shown below carefully.

Testing the HDMI to RCA adapter.


Assemble the rest of the parts.


I have a Corolla 2010 Altis, One day i thought i would change my 6CD changer player to a GPS Audio Player. have seen many GPS touch screen systems ranging from INR 20 to 50 thousand and of course the chinese ones which are cheap. Thanks to my Office Cab drivers, I will never go for the Chinese ones as the audio quality sucks! and the GPS is terrible.
I was browsing the internet for something weird and nice but not something that you get to see everyday.
So let me just straight away get to the topic.
I Like and prefer Google Maps for GPS and the songs which are part of the collection i have on my phone.
So why not just have a huge screen in the car that would just show you the maps whenever you need it and contents of various items on your devices. that was the basic Idea.
Then I also liked to add a Reverse Camera as my car lacked reverse proximity sensors. Now i got greedy and added a front camera too to the list which would just show you the road ahead of you while you drive and when you dont need to use the GPS.
Well now there are a lot of things to achieve.
Here i explain stuffs in detail.
1: How can i get the contents of my phone to a screen?
So If you have a smart phone with a micro USB connector, that should let you transfer your screen's data to something that you want to share it with like a screen mirroring app.
This could be achieved via a Mobile High-Definition Link (MHL)
The newer phones comes with an USB C port while the rest comes with micro usb 11 pin and the little older phones comes with micro usb 5 pin.
Mine is the one with 5 pin Micro USB.
Hence i have to convert 5 pins to 11pins using this adaptor.
Hook the small adaptor to the USB port which will give you 11pins of a HDMI. Now you will need to get this connect to a monitor.
Now i got this monitor as it comes with 2 input video and a free reverse camera with night vision. I also bought an extra camera for the front camera.
Now the problem with this is it accepts only VGA inputs (using RCA Video cable)
The connectors i have are giving a digital HDMI. So now i have to convert HDMI to RCA. Hence the below adaptor.
These are the only things you would require to achieve this little DIY project.
2: How can i get the audio from my phone to play it on the car's audio system?
Now to achieve this many of the audio systems that comes with the vehicles would have an USB in / Aux In ports. I am just gonna use my AUX in from the above HDMI to RCA converter. So i will still have the stereo effect which is still pretty good.
3: How do i connect all of them together?
So i took the trouble of drawing an image of the connections.

RL - Reverse Light Terminals
SW - Switch - On/ Off
V1 - Video input 1, V2 - Video Input 2.
Now testing the parts i bought.


Pictures of the Corolla Altis before the mod.


Now we start by fixing the rear reverse parking camera. Remove the small plastic screws that covers up the rear.Remove the bolts to take out the chrome plate above the number plate. We are gonna install our rear cam on this chrome plate.


Install the camera on this chrome plate. and connect the wires.


Run the wires along with the factory wires.


Now, Lets install the front camera.


Now that we are done with the connections of the Front and the Rear Cam.
Let me start fixing the rest of the devices inside the car.
Remove the side silver panels from the Automatic gear Box. Start by pulling them off slowly from below and work your way up.


Now all the right side panels are off. Continue with the left side from the gear box till the top.

Now the Left and Right panels are taken off.
Carefully pull out the AC Vent Panel.


Unscrew all the visible bolts you find holding the stereo CD system. and pull it out carefully. Make sure you unplug all the wires holding it too before pulling it out.


Now remove the panel around the automatic gear box It holds the AC controller in place.
Unscrew the two bolts holding the AC controller and unplug the connectors from behind and slowly remove the AC Controller panel.


Now we have taken out all the parts needed to complete our project.
This is the AC Vent air flow part. I would like to fix the monitor over it.
I ll drill a hole right in the center above the Hazard button so that it can hold the monitor bolt within.


Once we are done with the Monitor fixture, lets place the three switches we have in our diagram. I plan to place it on the passenger seat belt warning panel. I drilled three holes for the three switches.


Now since the switches are in place. I ll make connections to the switches.

I used the RCA cable and soldered the Right left and ground wires to the female jack (Tip Ring and Sleeve) of the Aux Input port inside the Original Stereo. Now this (R & L) Audio inputs can now connect to the HDMI to RCA adapter.

We are almost done. Make connections to the Cigarette Lighter Charger circuit (12V step down to 5V) to the HDMI to RCA adapter and the MHL cable as it requires 5V.
Connect the Front cam, back cam and the Monitor to the 12V supply of the cigarette lighter.
Connect the Positive end to the switches.. and the switches to the cigarette lighter end.Make use of Fuses wherever possible so that any short circuit will not harm any device.
Disconnect the Positive terminal of the battery after switching the car to Neutral.
Assemble all the devices as shown below carefully.

Testing the HDMI to RCA adapter.

Tapping connections to the 12V cigarette lighter below.

Connect the front and the back camera and the Adapter to the 12V power supply..

Assemble the rest of the parts.


A Video of my Mod .
Awesome work.dude.!
ReplyDeleteSuper dude
ReplyDeleteAwesome buddy 👌
ReplyDeleteBut somepics r missing 😣
ReplyDelete